Custom Silicone Mold Manufacturer Logo
The first step in the process of creating a silicone mold is to choose a pattern, which is also known as a master, for the mould. This will help the company to create a more precise negative. A pattern can be a real object, a drawing or a photograph of a particular object. As long as the material can withstand the heat, pressure and chemicals used in the mold making process, it can be used. If the logo is to be carved into the product, a clay carving technique can be used. If the design is flat, wooden carvings are ideal.
The final step is to fill the silicone mold with the end-use material. In most cases, this will be concrete or wax. Once the mold is filled with these materials, it will be ready for use. The mold is designed to be reused many times. Alternatively, the silicone mold can be used with other materials, like clay. It is best to make a half mold of the desired shape and then place the clay inside the housing. The masters should stick out of the clay, which will ensure a perfect fit for the mold.
After the mold is made, the company should apply a layer of silicone mold release to the silicone material. The silicone mold should then be placed in the housing. Once this has dried, the mold can be reused. Afterwards, the company should remove the clay from the mould. To complete the process, the manufacturer will need the masters. In this case, the molds can be reused. To make the final mold, the masters should be prepared.
How to Create a Custom Silicone Mold Manufacturer Logo
After the mold is created, the mold can be removed from the mold housing. To do this, the silicone must be poured into a mold that is specific for the final product. Once the mold is done, the mold is heated until the material has firmed up. If it doesn’t, it will break apart. The silicone mold is a durable and long-lasting promotional gift. So, if you are in the market for a custom silicone mold manufacturer, don’t forget to find the right manufacturer.
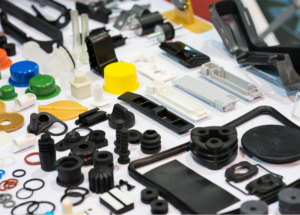
There are many advantages of using a custom mold for your company’s needs. Unlike other methods, this technique is cheaper. The molds are easily removable after they have been fully formed, making the process easier. Furthermore, because the silicone is flexible, silicone molds can be used for anything from complicated engineering components to holiday themed ice cubes. It can even be reused for a variety of products.
The final steps involve preparing the silicone mold and placing it in the mold housing. After the masters are molded, the silicone mold should be cooled and then placed in the mold housing. Once the masters have been removed, the silicone should be ready for the second mold. The silicone mold should be left to cure for at least 24 hours. This process is repeated for all the other parts of the mould. If the first and second steps have been successfully completed, the second step is to place the master into the mold housing.